
The image above is a Tree that has been designed and UV mapped purely in Maya. It took far too long to design, UV map and texture (nearly 7 hours). Saying that, This was my first time dealing with alpha channels to create the bush, I am pleased with the result although there is white edges on the bushes (probably the result of setting the tolerence while using Magic Wand tool). By doing this process though I have learned so much as the process to take in order design my own organic meshes and textures.
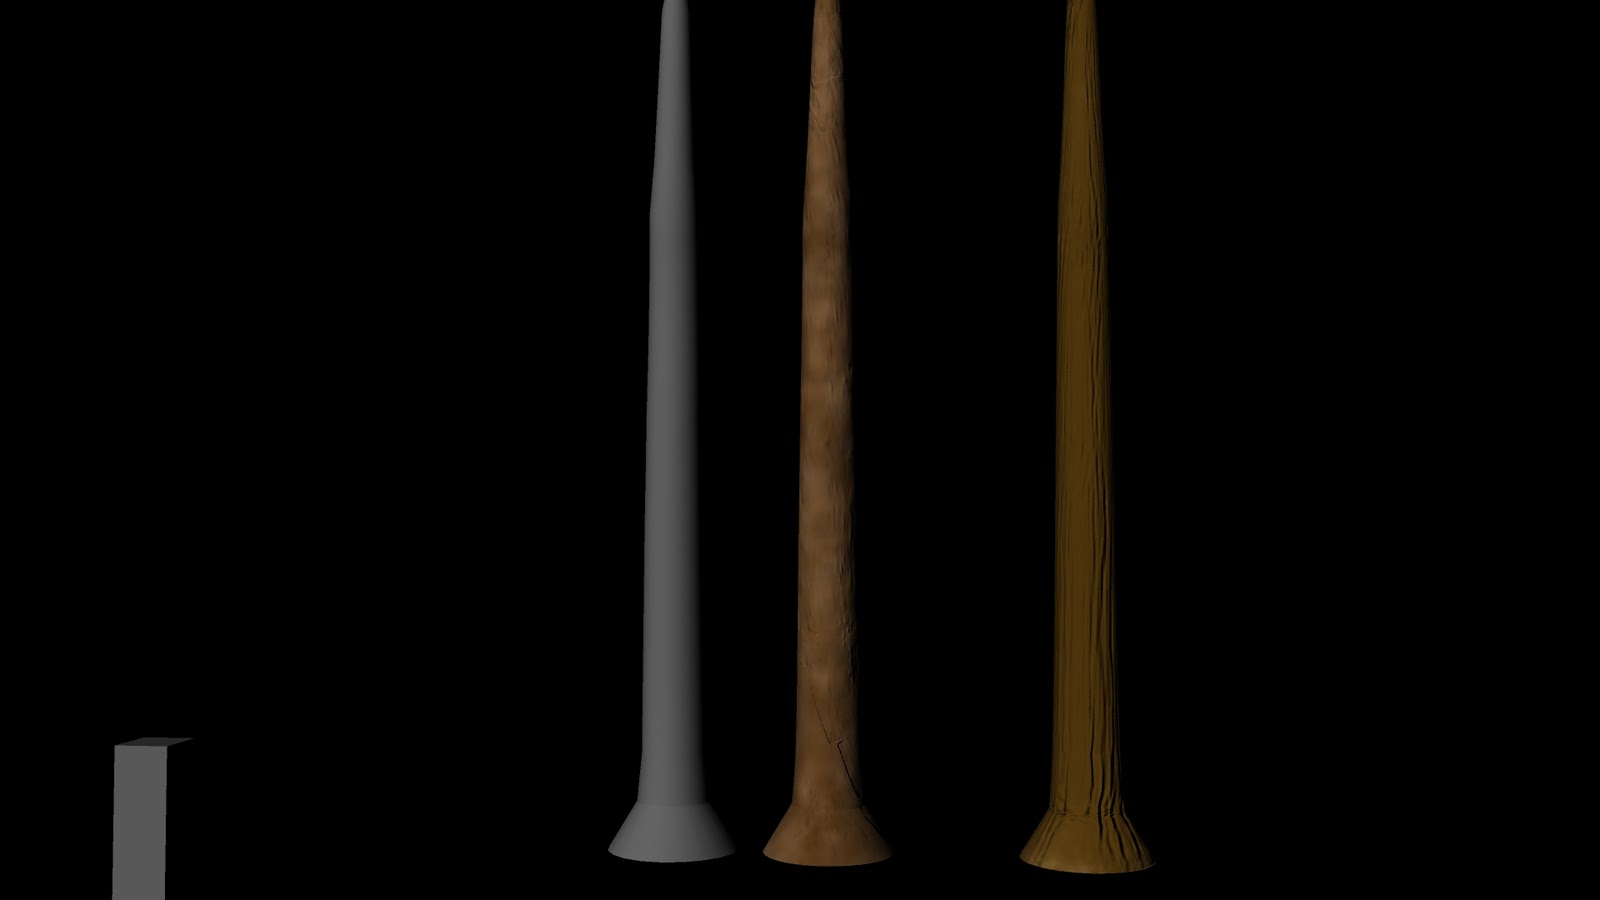
This was a different method that I used to create these tree drunks with Maya to Zbrush Workflow. From left to right, first tree is the basic mesh I started off with, the next one a tree trunk with a colour texture created using Zbrush's poly paint and finally the last tree again has used a poly paint technique but with a normal map applied also. From creating the mesh to creating uv's and finally the colour and normal maps took just over an hour. The fact that the level I will be creating will use a number of assets it's clear that this worflow is going to work best.
I not entirely happy about the colour maps results although Mike Howie has recommended that I use CrazyBump, I think this will be the next stage.
No comments:
Post a Comment